7 Step Wash Day Routine For Long Lasting Curls
Wash day can be quite the task for natural curly hair and requires its own allotted time on your schedule. While wash day can be a long drawn out task, it’s important to take your time styling your curls. It will save you time later in the week.
My wash day typically takes 3-4 hours— before you exit out of this blog hear me out, sis! Taking 3-4 hours on wash day makes it so that I only have to wash my hair once a week. This often includes weeks where I workout 2-3 times. Given this, it’s definitely worth blocking off the time on a evening to properly wash my hair.
Below I’ve outlined my detailed wash day routine. At the bottom of the blog, you’ll find links to all the products I love.
STEP 1
Before washing, I wet my hair until dampened and then apply Olaplex from my roots to ends. You should leave it on for a minimum of 15-20 minutes. I typically leave it between 30 minutes to an hour depending on how much TLC I think my curls need.
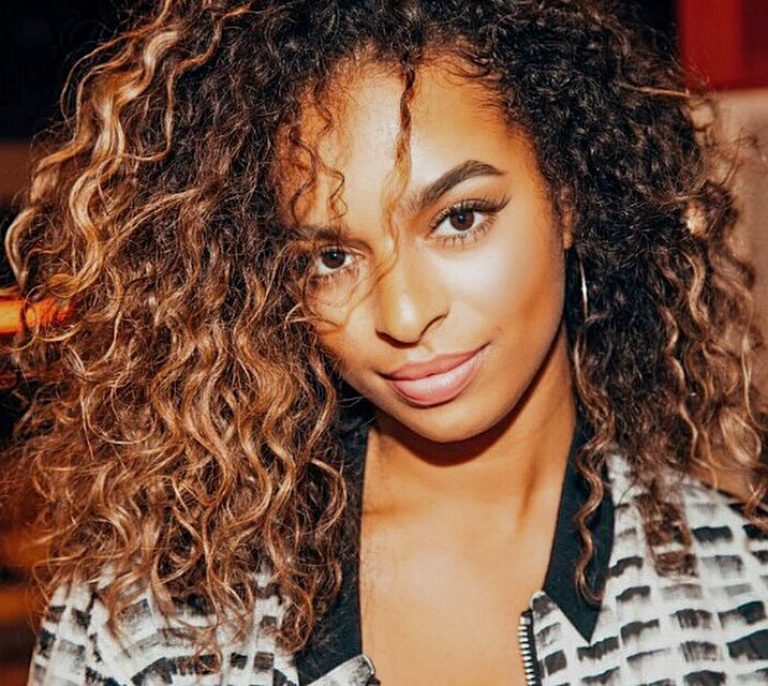
I can’t emphasize enough how much I love this product and how important it is in your curly hair routine! Olaplex does what is promises: repairs and strengthens your hair! It serves to strengthen hair suffering from dryness, breakage, or just straight up damage from bleach or other harsh chemicals! I couldn’t believe the difference in my curl pattern after a single use of Olaplex. You can use it once a week or two to three times depending how damaged your hair is.
STEP 2
I hop in the shower to rinse out the Olaplex and wash my hair. The Ouidad Curl Quencher Line works best for my curls although I sometimes rotate and use their VitaCurl line. I mostly prefer the Curl Quencher line because it focuses on hydrating the curls— and my curls are always thirsty! It’s also important to detangle your hair while still having the conditioner in. You should also use your fingers or a wide tooth comb to detangle, this keeps the breakage at a minimum.
STEP 3
After rinsing the shampoo and conditioner out, and while still in the shower, I apply my deep conditioner concoction. I mix one spoonful of Briogeo Moisture Superfoods Hair Mask and Ouidad Curl Immersion Triple Treat Deep Conditioner, and one tablespoon of Jojoba Oil. I apply my concoction then brush it through with my denman brush to make sure it’s evenly distributed. Then, I take sections of hair and do 2 strand twists throughout my hair. Not a crucial step but it does help the curls take their natural pattern while deep conditioning. This is definitely worth doing if you’re just starting out on your natural hair journey. Finally, I put a plastic cap over my hair, and step out the shower.
STEP 4
Hot deep conditions are key! Doing deep conditions with heat has so many more benefits than a regular deep condition under a plastic hair cap. The heat ensures deeper moisture penetration, improves moisture retention, and leaves your curls soooo much softer. Of course, if you don’t have a hooded dryer, then a deep condition under a plastic cap is better than no deep condition at all!
Hot deep conditioning doesn’t have to be expensive though, I love using my $14 Bonnet Hood Hair Dryer. It attaches to your blow dryer which makes it much more portable than a regular hooded hair dryer. Depending on how much time I have for wash day, I sit under the dryer for a 30 minutes up to an hour. The longer the better and my curls definitely notice a difference.
STEP 5
Rinse the deep conditioner out and begin to style your hair! It is crucial that you style your hair while it is wet, I’m talking dripping wet! Wet styling boosts moisture, reduces breakage/damage, improves your curl definition, and keeps the frizz at bay! You can wet style while in the shower, but don’t nobody got time for that, so I opt to style while outside of the shower.
Since I wet style my hair outside of the shower, I use a spray bottle to wet my hair again and ensure it’s dripping before I begin styling. When styling, it is also imperative that you style your hair in sections! You have to section your hair off and make sure that each strand gets an even amount of TLC aka products.
I typically start sectioning from the back and crown of my head then make my way towards the front. This makes it so that I end up sectioning my hair off into 6 different parts. I start by applying a nickle sized amount of Ouidad’s Leave-In Conditioner, then taking my Denman brush and brushing my hair to make sure it separates and defines each curl strand, and evenly distributes the product. I then apply another nickle sized amount of Ouidad’s Styling Gel Cream and begin to scrunch my curls – scrunch until you feel your curls have taken its proper form. Repeat this throughout each section of hair.
I love the Styling Gel Cream! It’s the perfect combination of gel and cream and leaves my curls beautifully soft. I prefer not to use gel because I like my curls soft, but if you don’t trust your curls will hold or you are at the beginning of your natural journey and wish to have extra hold, I recommend adding Ouidad’s Moisturizing Styling Gel throughout your hair to make sure you get that extra hold. I suggest doing at the end after you’ve applied the other products to your hair. The Styling Gel Cream already has gel in it so you don’t need much more styling gel or you run the risk of having really crunchy curls.
STEP 6
Diffuse, Diffuse, Diffuse! I never let my hair air dry. One, because it takes too long and two, diffusing gives my curls the extra definition and volume it needs! Diffusing typically takes me about 30 minutes. I flip my hair upside down and diffuse in sections while constantly moving the diffuser to different sections. I love this universal diffuser head (linked below) because it covers a lot of hair and is easy to travel with without me having to pack my entire blow dryer.
STEP 7
Once my hair is fully dry after diffusing, I break down the products with oil. The more moisture the better! Dry curls love oil. I like to mix my oil with an essential oil (Eucalyptus, Lavender, Peppermint) and give myself a scalp massage to awaken and stimulate the follicles. Scalp massages also encourages hair growth by the way, since it stimulates the blood vessels beneath the scalp. I use an oil blend that my hair stylist makes and sells at her salon. I also love the Ouidad Mongongo Oil. You can also use any other oil, Jojoba Oil, Coconut Oil, Rosemary Oil, etc. (small amount) and spread it through your curls. I like to scrunch the oil into my curls.
Following my scalp massage and oil scrunch, I pick my hair. Picking is amazing for volume – get into it sis! Flip your head upside down and get to picking at the roots. I recommend not getting too crazy with it since it can also cause frizz. I prefer a metal pick as it feels better on my scalp and causes less frizz compared to a plastic pick, but the choice is totally yours!
And that’s it ladies, that is wash day! It’s a long process, but following this wash day routine is what has fully rehabilitated my curls and kept them strong and healthy while transitioning to blonde.
Drop a comment or contact me via Instagram if you gave this wash day a routine and products a try— would love to know how it worked out for you!

To read about how I rehabilitated my curls and my natural journey in detail, see this post.